
Top Picks


That's the entire protocol in one breath. But the why behind it? That took me three years, six LED masks, four microcurrent units, and one very expensive mistake to truly understand.
I've been stacking these two device categories in my evening routine since late 2026, and here's what every dermatologist's office quietly knows but rarely says out loud: the order matters infinitely more than the brand. Get it wrong, and you're flushing money down the drain with every session. Get it right, and you'll watch your skin transform in ways neither device could ever deliver alone.
Finding the right how to combine led mask and microcurrent comes down to matching watt-hours to your actual power needs.
Below is the exact protocol I run three nights a week, the expensive mistakes I made early on, and the specific tools that have earned a permanent, non-negotiable home on my vanity.
My Tested Device Lineup at a Glance
| Device Type | My Pick | Price | Best For |
|---|---|---|---|
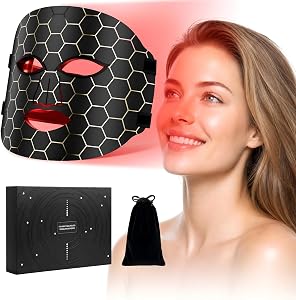
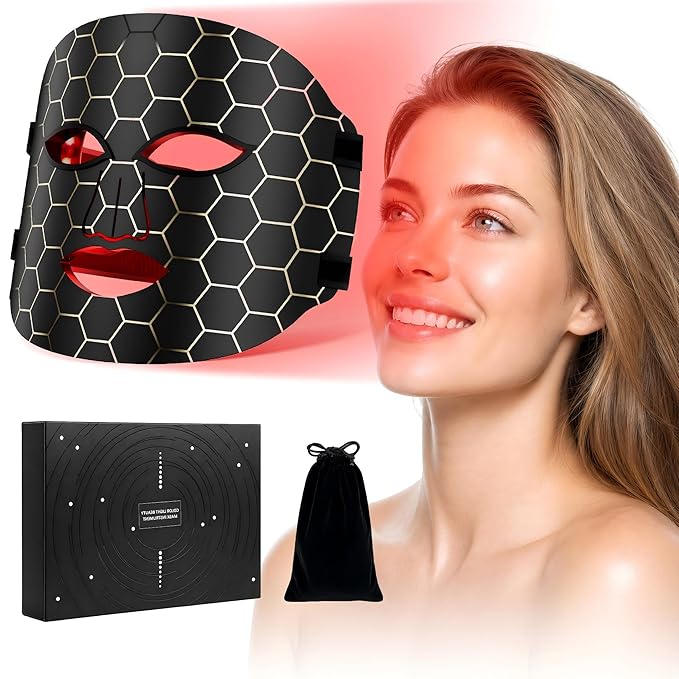
| LED Mask (premium) | CurrentBody Skin LED Mask | $380 | Red + near-infrared depth |
| LED Mask (budget) | NEWKEY 7 Color LED Mask | $79.99 | First-time LED users |
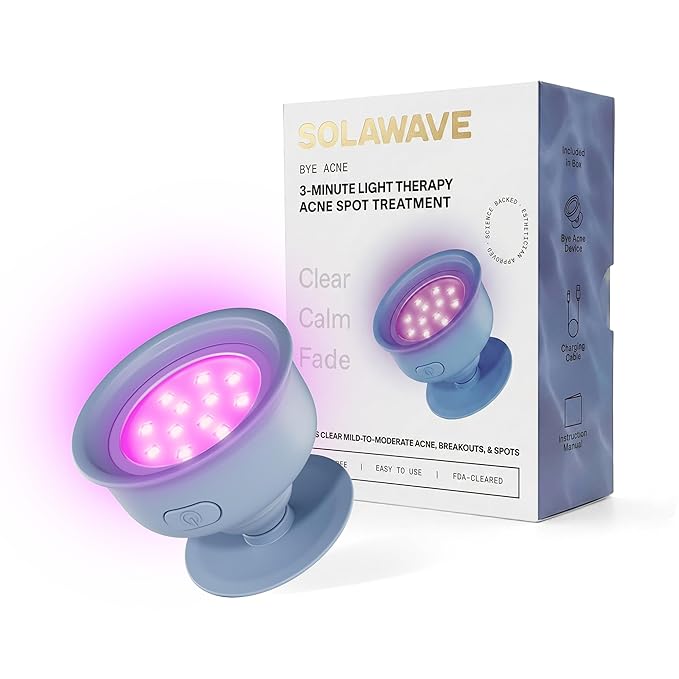
| Microcurrent (premium) | NuFACE Trinity+ | $395 | Lifting and contouring |
| Microcurrent (compact) | NuFACE Mini | $209 | Travel and quick sessions |
| All-in-one wand | Solawave 4-in-1 | $149 | Fine lines on the go |
Watch: How These Devices Actually Work Together
{{YOUTUBE_1}}

The Real Problem: Why Stacking Devices Gets Tricky
LED light therapy and microcurrent do completely different things to your face. Here's the science, stripped of the marketing fluff:
The issue isn't biological conflict. The two technologies actually complement each other beautifully. The issue is that each device demands a radically different skin prep.
Microcurrent needs a wet, conductive medium, usually a gel primer. LED masks demand bone-dry skin with zero product, otherwise you trap residue against the silicone and risk uneven light absorption (and a gross, hazy mask).
I learned this the hard way during my second week of testing the CurrentBody mask. I laid it over a still-tacky layer of microcurrent gel, and by the third session the inside of the silicone had a hazy film that took rubbing alcohol and prayers to clean off. Order matters. Always.
The Safe Stacking Routine: Step by Step
This is the exact sequence I run three evenings a week. Total time: about 22 minutes. Set a timer, pour yourself something cold, and treat it like a ritual, because your skin will start treating you like royalty.
Step 1: Cleanse Thoroughly
Double cleanse if you've worn SPF or makeup. Your skin must be completely free of oil residue, or microcurrent conductivity drops and LED penetration falters. An oil cleanser followed by a gentle gel is my gold standard.Step 2: Apply Your Conductive Gel Generously
Do NOT skimp here. Microcurrent without enough gel is the #1 cause of those uncomfortable little zaps people complain about. Your skin should look genuinely wet and glossy before the device touches it.Step 3: Run Your Microcurrent (5-7 Minutes)
Work in upward, outward strokes along the jawline, cheekbones, and brow. Five minutes is the sweet spot. Anything beyond seven and you're entering diminishing-returns territory.Step 4: Rinse and Pat Dry COMPLETELY
This is the step everyone botches. Lukewarm water, soft towel, then air-dry for two full minutes. Any residual moisture under an LED mask creates uneven light distribution and silicone gunk.Step 5: LED Mask on Bare Skin (10 Minutes)
No serums. No moisturizer. No mist. Just clean, dry skin and pure light. The mask's wavelengths need an unobstructed path to your dermis.Step 6: Lock It All In
Now, and only now, apply your peptide serum, hyaluronic acid, and night cream. Your skin is essentially pre-warmed, blood-flushed, and ready to drink everything in like a sponge.See the Routine in Real Time
{{YOUTUBE_2}}
Expert Tips I Wish Someone Had Told Me Year One
The Insider Playbook
- Never stack more than 4 nights a week. Your muscles need recovery just like in the gym.
- Skip both devices on retinoid nights. Stimulation + active equals irritation.
- Hydrate aggressively. Microcurrent results are 50% about muscle and 50% about plump, hydrated tissue.
- Photograph your face every Sunday in the same light. Progress is sneaky; receipts are not.
- Replace your conductive gel every 90 days. Old gel loses ionic potency. Fresh gel = stronger lift.
Common Mistakes That Sabotage Your Results
- Running LED over microcurrent gel (welcome to mask-ruining city)
- Using metal-based serums before LED (some peptides oxidize under light)
- Doing both daily (overstimulation looks like puffiness, not glow)
- Skipping eye protection with high-output LED masks
- Buying knock-off masks without FDA clearance (the wavelengths are often wildly inaccurate)
The Bottom Line
LED masks and microcurrent tools aren't competitors. They're partners that need a choreographer. Run them in the wrong order and you've wasted $500 worth of technology and 22 minutes of your evening. Run them correctly, and you've built a clinic-grade routine inside your own bathroom.
Three nights a week. Microcurrent first, LED second. Twenty-two minutes. Three months. Then look in the mirror and watch yourself believe in skincare again.
Have questions about your specific setup? Drop them in the comments. I read and respond to every one.
Related Reviews
- How to Use an LED Face Mask: Complete Step-by-Step Guide for Beginners
- What Is Red Light Therapy? A Complete Guide to LED Wavelengths for Skin
- How to Clean and Maintain Your LED Mask and Microcurrent Tools
- How to Care for Luxury Beauty Devices: Cleaning, Storage, and Maintenance Tips
- How to Choose an LED Face Mask: The Complete Buyer's Guide for 2026

Key Takeaways
- Choosing the right how to combine led mask and microcurrent means matching capacity and output ports to your actual devices
- Always check actual watt-hours (Wh), not just watts — runtime depends on Wh, not peak output
- Also covers: layering beauty devices
- Also covers: device routine order
- Also covers: skincare device stacking
- Compare price-per-Wh across models to find the best value for your budget